“Voice Memos” is your go-to destination for recording your thoughts. Not to mention, the app has got you fully covered with all the important features including the ability to create a folder to let you keep all of your recordings perfectly organized. Though renaming a voice memos folder on iPhone or iPad is quite simple, some of you might not be aware of the process as it’s a bit hidden. But worry not! This is where I have a role to play. Read on…
Rename a Folder in Voice Memos on iPhone and iPad
Instead of creating a new folder, I prefer to rename the existing ones. It helps me keep the clutter away.
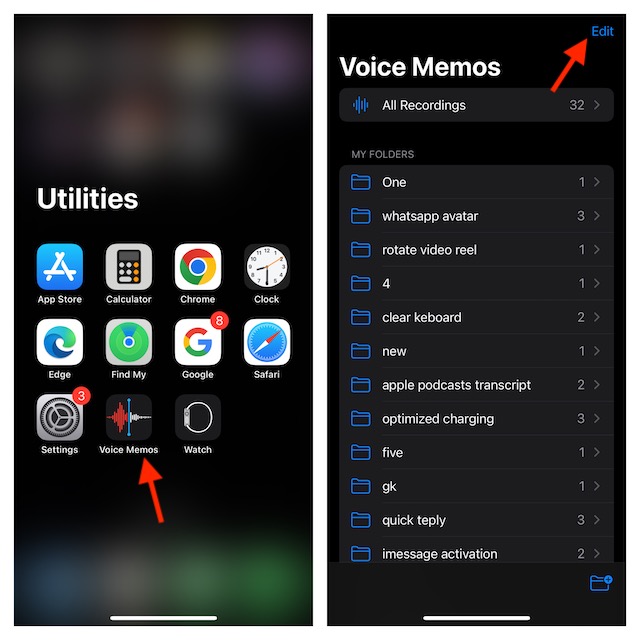
- To get started, open the Voice Memos app on your iPhone or iPad.
- Now, head over to the main screen and then tap on the Edit button at the upper right corner of the user interface.
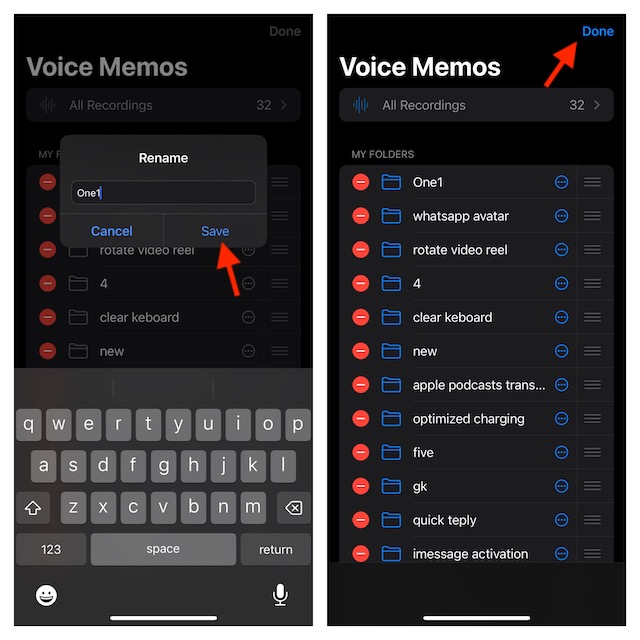
- Then, tap on the triple-dot icon right next to the folder you want to edit.
- Next, choose the “Rename” option in the popup menu.
- Next up, remove the existing name and then enter the new one.
- Up next, tap on the Save button in the menu.
- Finally, tap on the Done button at the upper right corner of the user interface and you are good to go!
How to Delete Specific Voice Memos Folders on iPhone and iPad
If you no longer want to keep specific folders, you can choose to delete them with ease.
- On your iPhone or iPad, navigate to the Voice Memos app -> tap on the Edit button at the upper right corner of the user interface.
- Now, find the folder you would like to get rid of.
- Next, tap on the red minus button to the left of the folder.
- After that, tap on the Delete button and confirm the action.
How to Permanently Delete Recordings in Voice Memos on iPhone and iPad
When you delete a recording in the Voice Memos app, it automatically goes into the “Recently Deleted” folder and stays there for up to 30 days after which it is deleted permanently. So, if you want to wipe out a particular recording for good, you will need to remove it from the Recently Deleted folder.
To do so, launch the Voice Memos app -> tap on the Recently Deleted folder -> Tap on the edit button at the upper right corner of the screen -> select the recording you want to eliminate for good, and then hit the Delete button at the bottom of the screen.
Read more: How to Stop Collaboration in Apple Music Playlist on iPhone and iPad