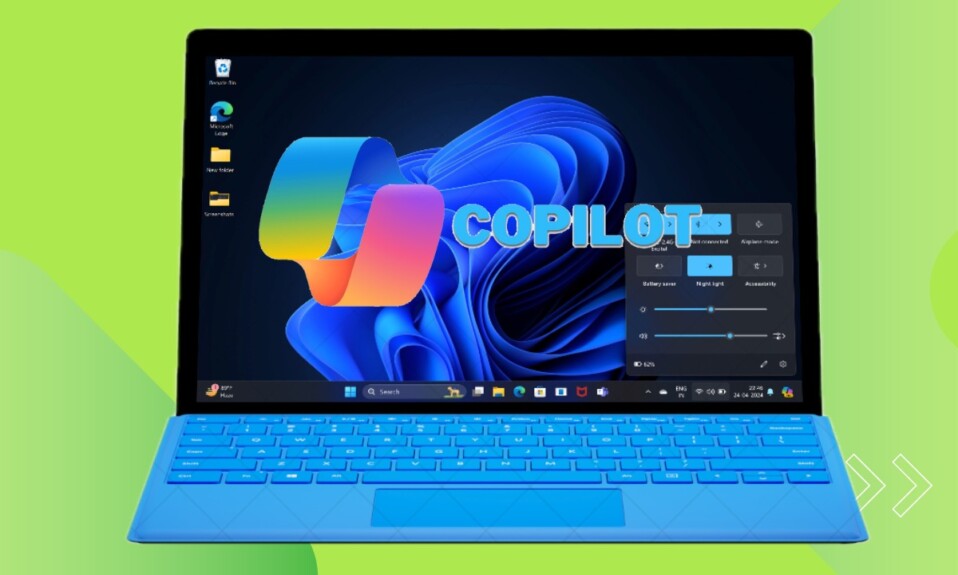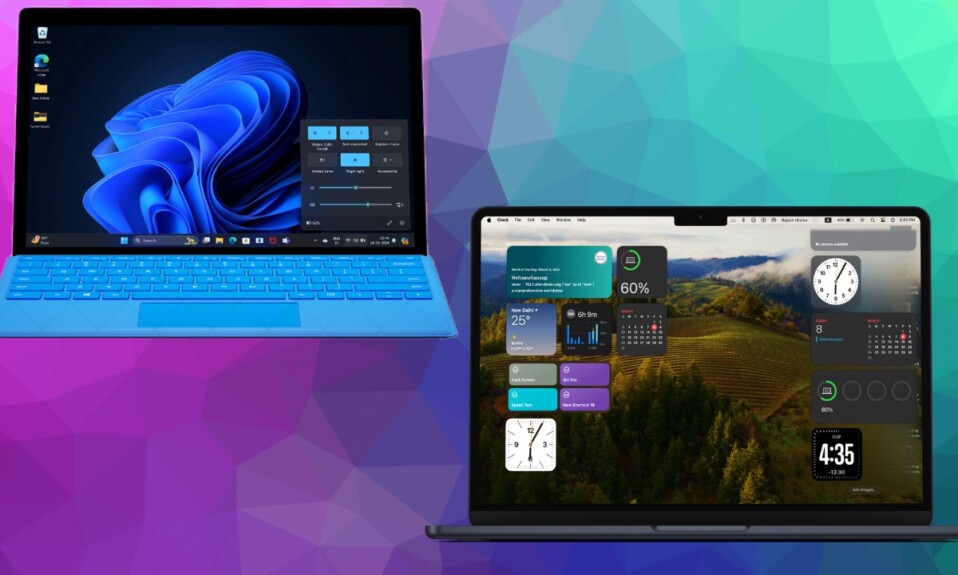
Both in terms of speed and efficiency, Windows has come a long, long way. Notably, the just unveiled “Microsoft Surface Pro” has managed to beat the brand new MacBook Air M3 both on the speed and battery life fronts. Whether you want to take Windows 11 for a long spin or wish to test Windows for any professional reason, you would be super glad to know that you can now install & run Windows 11 in VMware Fusion Pro on your Mac with utmost ease. Read on…
How to Install & Run Windows 11 in VMware Fusion Pro on Mac
While there are all sorts of ways and means to run Windows 11 simultaneously with MacOS, the one method that I have always found incredibly simple and straightforward is the VMware Fusion Pro 13.
Notably, the VMWare Fusion Pro is available for free and offers a hassle-free way to download, install, and set up Windows 11 on a virtual machine on a macOS device. That means you won’t have to dole out any bucks to get the most out of this noted software.
- To get started, make sure to download and install VMWare Fusion Pro on your Mac. Just head over to the official website and sign up for a free Broadcom account. When prompted, make sure to agree to use VMWare Fusion Pro for personal use.
- After that, open the VMWare Fusion Pro app on your Mac.
- Then, select the “Get Windows from Microsoft” option to start downloading Windows 11 within the VMWare Fusion Pro app on your macOS device.
- Next, you need to customize the VM and follow the instructions to install Windows 11.
- Next up, go through the usual Windows 11 installation process and install the software.
- Up next, follow the standard Windows 11 setup screens. You will need to sign in with a Microsoft account.
- Once you have gone through the whole process, your Mac will boot into Windows 11 running alongside macOS in the VMware Fusion Pro app.
And that’s pretty much it!
As it’s a full-fledged installation of Windows 11 on Mac, you have the desired luxury to install all of your favorite Windows apps on your Mac and use them to your heart’s liking. Therefore, go ahead with your extensive digging and share your thoughts via the comments.
Read more: How to Permanently Delete Safari Website Data on iPhone and iPad
